Costar replacement controllers
Instructions on how to use the Costar keyboard replacement controllers by Bathroom Epiphanies.
Models[edit | edit source]
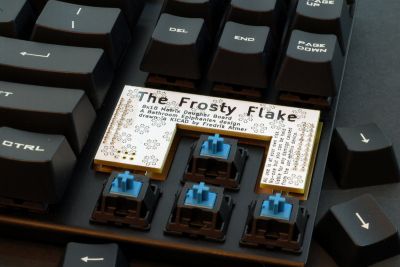
The Frosty Flake[edit | edit source]
Built to fit the CM Storm QFR
Compatible main boards[edit | edit source]
- CST-IF87/88/89/91-MB V1.1 2011-07-26
- CST-IF87/88/89/91-MB V2 2012-07-30
- Quickfire_V2.2
- …
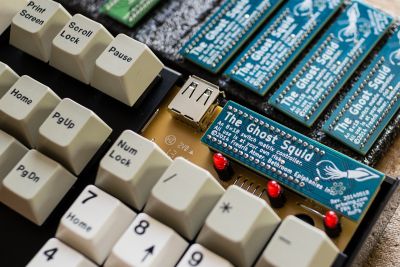
The Ghost Squid[edit | edit source]
Built to fit the CM Storm QuickFire XT
Compatible main boards[edit | edit source]
- POPPY 1045678 MB V2_20130204
- …
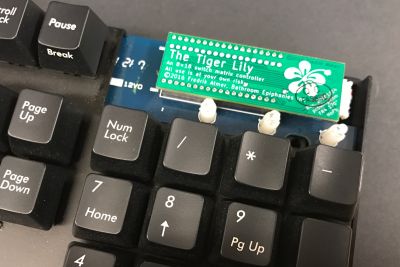
The Tiger Lily[edit | edit source]
Built to fit the Filco Majestouch 104/105(/106/108 not yet confirmed) In every way a Black Petal with extra headers. Uses the same firmware as the Petal.
Compatible main boards[edit | edit source]
- (CST-FKB/N-104/5/6 Main PCBA Rev 1.0) 2010-03-23
- (CST-F104/5/6/8 Main PCB Rev 2.1) 2010-11-08
- (CST-F104/5/6/8 Main PCB Rev 3.0) 2012-03-24
- …
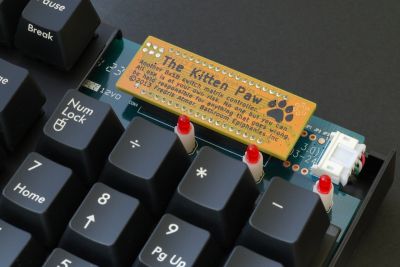
The Kitten Paw[edit | edit source]
Built to fit the Filco Majestouch 104/105(/106/108 not yet confirmed)
Compatible main boards[edit | edit source]
- (CST-FKB/N-104/5/6 Main PCBA Rev 1.0) 2010-03-23
- (CST-F104/5/6/8 Main PCB Rev 2.1) 2010-11-08
- (CST-F104/5/6/8 Main PCB Rev 3.0) 2012-03-24
- …
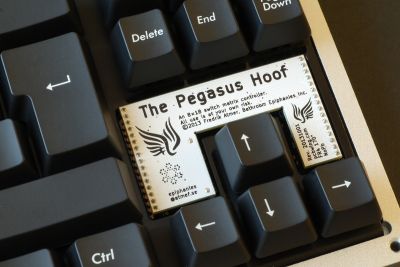
The Pegasus Hoof[edit | edit source]
Built to fit the Filco Majestouch 87/88 and Filco Zero
Compatible main boards[edit | edit source]
- CST-F87/88/89/91-MB V1.1
- CST-F87/88/89/91-MB V1.1 2010-11-09
- FMXJ3_87888991_MB_V1_20151102
- …
Compatible main boards (zero)[edit | edit source]
- CST-TN104A-N_Mother Rev 1.2 (2008-08-11)
- …
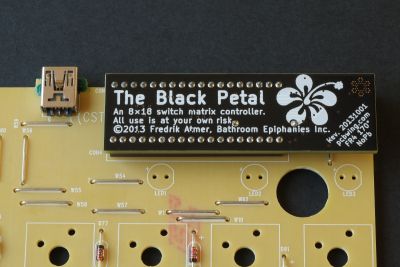
The Black Petal[edit | edit source]
Built to fit the Rosewill RK-9000
Compatible main boards[edit | edit source]
- (CST-NFK104/5/6/8 Main PCB Rev 3.0) 2011-06-28
- Nashville 104568 MB V5.0 2012-06-18
- NashVille_104568_MB_V6.0_20130620
- …
Incompatible main boards[edit | edit source]
- Any Rosewill RK-9000V2
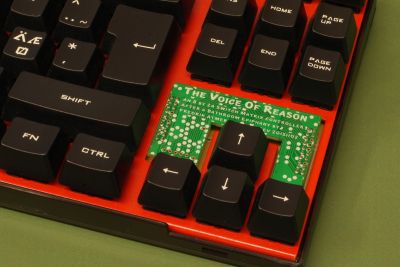
The Voice of Reason[edit | edit source]
Built to fit the Sane Matrix (and also the CM Storm QFR)
Compatible main boards[edit | edit source]
- The Sane Matrix
- (Same boards as for the Frosty Flake)
Firmwares[edit | edit source]
Bathroom Epiphanies' costar_keyboard[edit | edit source]
With the goal of code being as easy as possible, while still thoughtfully arranged. This is for those wanting to understand how the keyboard works on a hardware level. Available through GitHub.
compiling[edit | edit source]
These steps should be applicable to both Linux and Windows. (Mac as well?)
You need to select the desired MODEL and LAYOUT variables in the Makefile by un-commenting the corresponding lines
MODEL = flake
#MODEL = hoof
#MODEL = paw
#MODEL = petal
LAYOUT = ANSI_ISO_JIS
#LAYOUT = DVORAK
#LAYOUT = TEST_FLAKE
Then run the make command in a terminal. Always run a make clean first.
make clean; make
Metalliqaz's Easy AVR USB Keyboard Firmware[edit | edit source]
This is a firmware that doesn't require any compiling. It can be downloaded from its Geekhack thread. This is for those who want to create their own layouts, layers, macros and other stuff without touching any code.
Grendel's CoReCon[edit | edit source]
Available for all versions of the replacement controllers.
Hasu's tmk_keyboard[edit | edit source]
Only available for the Kitten Paw. The other controllers are very similar, but some effort is needed to adapt the firmware to them.
Bpiphany's epiphanies_tmk_keyboard[edit | edit source]
Bpiphany's branch of Hasu's tmk_keyboard. Includes all Bathroom Epiphanies Costar Replacement controllers. The core libraries may not be up to date with Hasu's repository at all times. It's however easy to merge his core into bpiphany's repository.
Flashing the controller[edit | edit source]
There are different software tools to insert, or flash, a firmware hex-file onto the controllers. They can be a bit tricky to set up correctly on locked down operating systems. Google the Internet if trouble arises. Suggested search words are "flash AVR controller dfu-programmer/FLIP Windows/Linux/OSx". Find a good tutorial out there. You may need to add rules, libraries or/and be the super user of your system to be able to do these things.
To enter the bootloader mode of the controller the reset signal of the ATmega chip needs to be triggered. On the replacement controllers there is a magnetic switch which will do this. While powered run a magnet nearby the little glass tube. Usually the switch can even be heard operating. Your computer/flashing tool should recognize that there is a controller in bootloader mode waiting for instructions.
dfu-programmer[edit | edit source]
The tool dfu-programmer is available both for Linux and Windows. (Mac as well?)
dfu-programmer atmega32u2 erase
dfu-programmer atmega32u2 flash binaries/[flake|paw|hoof|petal]_ANSI_ISO_JIS.hex
dfu-programmer atmega32u2 start
FLIP[edit | edit source]
FLIP is Atmel's own tool to write hex files to AVR controllers. It should work on Windows, and is GUI front ended for those who doesn't feel like using a terminal. Its Linux version seem to be outdated.
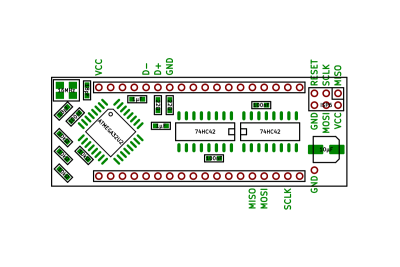
Schematic[edit | edit source]
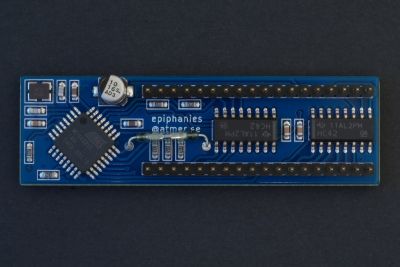
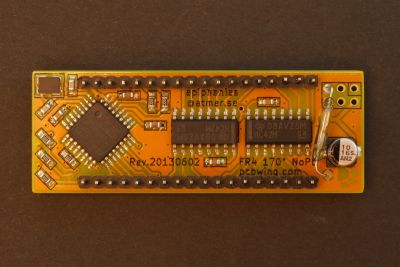
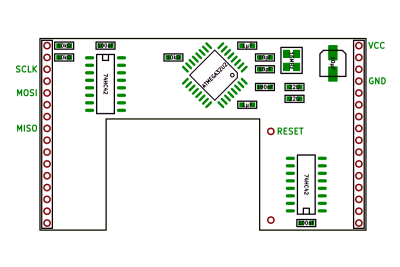
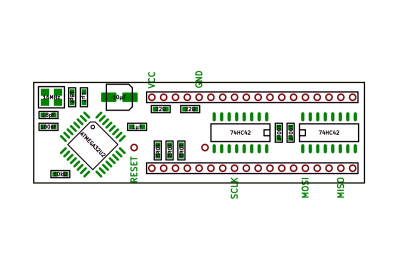
Frosty Flake 20130602
Schematic
Black Petal 20131001
Frosty Flake 20140521
Ghost Squid 20140508
Kitten Paw 20130602
Pegasus Hoof 20131001

Voice of Reason 20151102
Kitten Paw 20160418
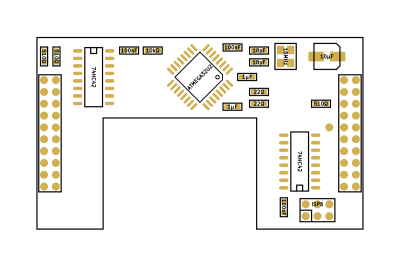
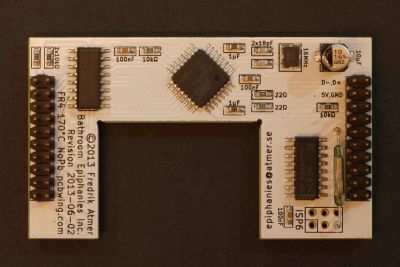
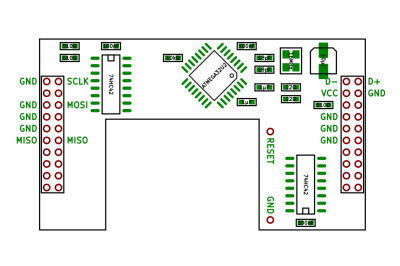
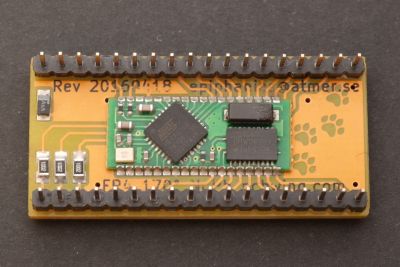
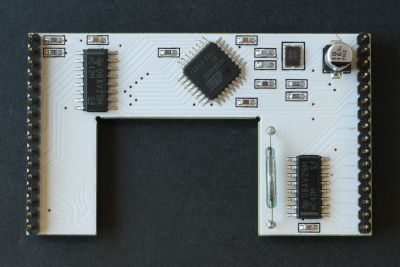
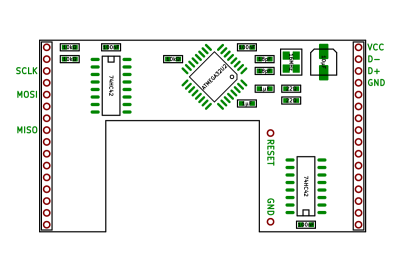
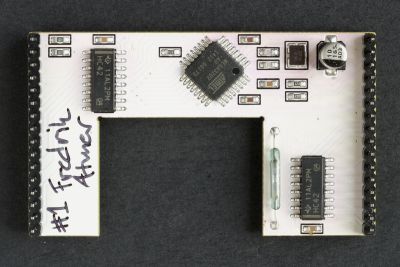
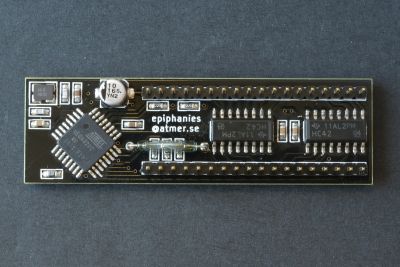
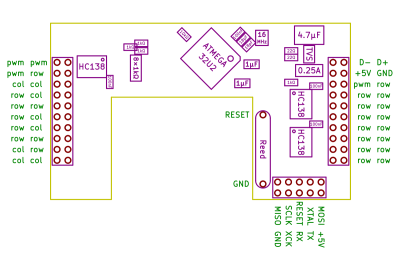
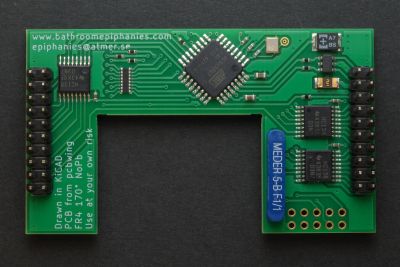
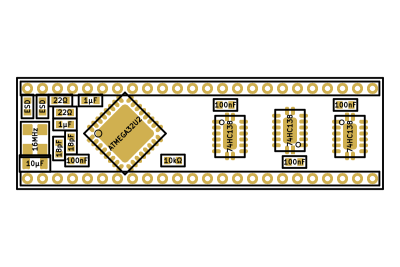
Build Instructions[edit | edit source]
| Component values | Bottom view |
|---|---|
 |
 |
 |
 |
 |
 |
 | |
 |
 |
 |
 |
 |
 |
 |
 |
 |
 |
 |
 |
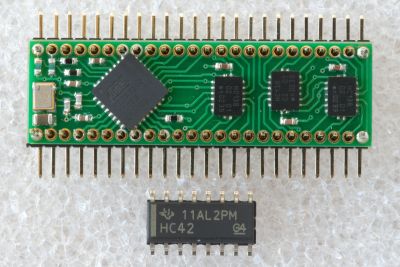
Hardware[edit | edit source]
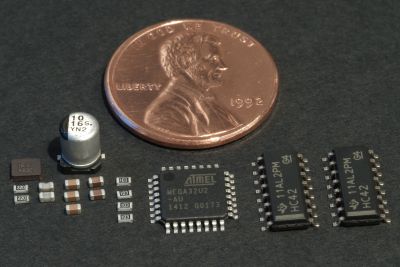
| Amount | Description | Manufacturer part number |
|---|---|---|
| 1 | ATmega32u2 micro controller | ATMEGA32U2-AU |
| 2 | 4-10 Decoder Logic IC | SN74HC42DR |
| 1 | 16MHz crystal oscillator 3.2 x 2.5 mm | ABM8G-16.000MHZ-4Y-T3 |
| 2 | 18pF 0603 ceramic capacitors | C1608C0G1H180J |
| 3 | 100nF 0603 ceramic capacitors | C1608X7R1E104K |
| 2 | 1µF 0603 ceramic capacitors | C1608X7R1C105K |
| 1 | 10µF 4.3 x 5.5 mm electrolytic capacitor | EEE-1CA100SR |
| 2 | 22Ω 0603 resistors | ERJ-3GEYJ220V |
| 4 | 10kΩ 0603 resistors | ERJ-3GEYJ103V |
| 3 | 510Ω 0603 resistors | ERJ-3GEYJ511V |
| 1 | Magnetic "Reed" switch | KSK-1A87-1015 |
| 2 | 18-pin headers, 2mm pitch |
Tools needed[edit | edit source]
- Soldering iron
- Solder and flux
- Wire cutter to cut off component pins
Suggested Work order[edit | edit source]
- See image above for component values.
- Start with the crystal.
- After that it is probably a good idea to do all 0603 components.
- Use 10kΩ resistors if your keyboard has blue LEDs, 510Ω if they are Red. You would do best to check what value your original controller has for the LEDs.
- Solder the controller and decoders.
- Solder the 10µF capacitor.
- Add the pin headers and the reed switch.